Drywall damage is one of the most common issues in homes, often caused by accidental bumps, doorknobs, or shifting furniture. Even small imperfections can affect the look of a room and may worsen over time if left untreated. That’s why it’s important to repair a hole in drywall as soon as possible—not just for aesthetic reasons, but to preserve the structural integrity of your walls. The good news is that with the right tools and techniques, you can handle most repairs on your own. In this guide, we’ll show you how to repair holes of all sizes, from tiny nail punctures to large gashes, so your walls can look flawless once again.
Tools and Materials You’ll Need
| Essential Tools | Materials | Optional tools |
| Putty knife | Joint compound | Stud finder |
| Drywall saw | Patch kits | Utility knife |
| Sanding sponge | Drywall tape | |
| Mesh |
Identify the Type and Size of the Hole
Making the assessment of nature and shapes of the holes in the earth before repairing one permits you to choose the best method and materials. There are usually three categories of drywall damage to take into account: There are three main types of drywall problems: small holes, such as those created by nails/screws; medium size holes around the size of a doorknob/fist; and large holes whose diameter exceeds 6”. Small holes can be routinely patched with spackling paste while medium ones typically require covering with mesh patch or repair kit. Gaps that are larger than six inches in width often require that a given section of the drywall be cut out and replaced.
Check the area around the hole carefully for evidence of moisture buildup, weakened edges or problems just under the surface that may influence the repair procedure. Looking for the right hole type in advance makes the repair flow more easily and ensure that the repair has a longer effect. Knowing the dimensions of the hole enables you to select appropriate tools and material for the repair hence minimizing wasteful delays and inconvenience throughout the restoration process.
How to Repair Small Holes (Nail or Screw Holes)
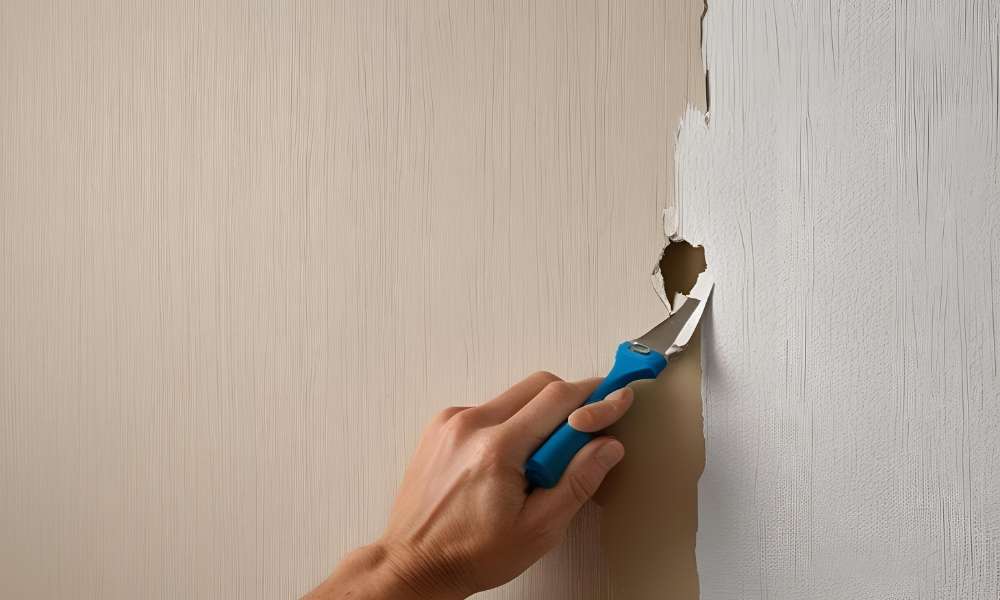
Patchwork for tiny holes caused by nails or screws in a drywall is a rather simple DIY project, which doesn’t involve many tools. First, clean the surrounding area of the hole with a damp cloth for the removal of dirt and debris. Then scoop up a few dollops of spackling paste onto the hole using a putty knife and press it in packing it in making sure it’s a little higher than the surface so it is easy to sand smooth. Allow the spackling paste to settle and dry very well – this generally takes a number of hours, or as suggested in the instructions.
Once it has dried in full, roughen it evenly with the use of a fine grit sand paper or a sanding sponge. When the primer is applied and when the paint is done, let the finish dry and then test the results. This simple repair method enables you to take care of minor surface problems and create attractive finished product with no specialized help required.
How to Repair Medium Holes (1–6 Inches)
Although such holes—of about 1 to 6 inches—require a bit more attention, they can be repaired fairly easily using appropriate materials. Wipe out the hole and make any damaged areas at the edges smooth before going on. When working with holes of this size or smaller, you are to use either a mesh patch or a ready-made drywall repair kit. Place the mesh patch uniformly over the hole, ensuring it reaches the edges in entirety. Use your putty knife to spread joint compound over the patch, spread evenly, and feather the edges gradually to blend in with the wall. Let the compound cure for some hours before sanding. When the compound has dried; lightly ride down any imperfections and glaze it to match the wall.
When the smoothened dried patch and edges, apply primer, then paint but in such a way that they won’t stand out by blending in well with the original wall. Note: One kit type provides aluminum-backed patches, which is more stable, and is of particular use in areas where ruggedness is important.
How to Repair Large Holes (Over 6 Inches)
In cases involving holes of greater than six inch diameter, then a full patch application will be require to ensure the structural integrity of the wall and the outcome is seamless. First, cut a neat, square or rectangular border around damaged area with a utility knife or a drywall saw. It offers a clear and unblock area to stick the patch. Later, measure the hole with care and cut out an adequate piece of drywall for the hole. Mount an anchor backing support (for instance, a furring strip or a plywood) in the wall cavity with drywall screws so that some of the backing support may be exposed to provide a safe fix. Screw the patch into the support frame so that it holds itself. To make the seams strong and free of cracks, apply drywall tape around them after attaching the patch.
After that, coat the tape with a layer of joint compound, blending it lightly with the wall so that it blends seamlessly. Let the compound dry completely then sand the surface smooth; paint to complement the rest of the wall. Never get casual in making cuts to avoid damage to electrical wires or plumbing. For flawless, polished repair, there are certain prerequisite; meticulous work and patience.
Finishing Touches: Sanding and Painting
Once the drywall patch is sufficiently dry, sanding and painting become the most critical steps to achieve a professional and flaw-free finish. Dwelling with 220 grit sandpaper to work the patched spot out, taper up on how you sand them so as to be seamless with the wall. Be careful how you sand so as not to unintentionally disturb the patch or make parts uneven. After sanding, wipe the piece with a moist cloth to remove dust particles. Apply a trustworthy primer to the repair to prevent paint absorption problems later on.
In this way, the painted surface will have the harmonious tone over the professed as well as unpatched surfaces. Give time for the primer to dry before you can paint the repaired area with one that complements the rest of your walls. Make sure you apply paint this way, as you would elsewhere, to avoid inconsistencies on the wall itself. If it doesn’t match the color perfectly, it’s better to repaint a part near by or the entire wall to avoid a noticeable difference. If you unintentionally complete your job mercifully, the repair will be hidden so it looks natural with the rest of the wall.
When to Call a Professional
Repaired drywalls are easy enough to be done by a do-it-yourselfer; however, some situations require those of a professional. It is important to resolve water leak problems in advance before fixing a wet wall to avoid issues such as mold and rot from coming back after the repair has been done. If you find large cracks, wall sagging that is close to load-bearing walls, or additional sign of structural problems, it is timely to consult a contractor. The presence of cracks after repairs is usually a sign of the movement within the structure, best analyzed by a contractor. In case the repaired section is large or you worry about the effect of taking care of electrical or plumbing problems, refer the job to a professional for your safety and perfection.
Think about the financial compromise concerning your leisure time – trying simple solutions on your own will pay off, but complex projects can be handled profitably by a contractor with high quality results that prevent future problems from arising, for the average price.
Read more: How to Install Drywall Anchors
Conclusion
Repairing a hole in drywall is easier than it might seem, especially with the right tools and methods. Whether it’s a small nail hole or a larger puncture, you can handle the job yourself with just a few simple steps. The process not only saves you money but also gives you the satisfaction of maintaining your home’s appearance. Don’t let minor damage cause bigger issues—take action and repair a hole in drywall as soon as you notice it. Have you recently fixed a hole in your wall? Share your experience or ask any questions in the comments below—we’re here to help!