If you’re looking to finish a basement or upgrade a utility space, knowing how to Install Drywall on Concrete Wall is essential. Concrete can be tough to work with, but with the right tools and techniques, you can achieve a clean, insulated, and paint-ready surface.
Homeowners often choose to install drywall over concrete walls to improve insulation, hide imperfections, and create a more polished interior. Whether it’s for comfort, function, or aesthetics, drywall is a smart solution for transforming bare concrete.
This drywall installation guide will walk you through the entire process—from preparation to finishing—so you can tackle the job with confidence.
Step 1: Prepare the Concrete Wall
Preparing the concrete wall should be the first step in installing drywall, to ensure the finished product remains stable and resistant to damage. Brush the concrete wall gently with a stiff bristle brush or vacuum the surface to get rid of any debris. Cleaning the concrete allows glue or nails to adhere strongly. Then check the wall for any signs of moisture or obvious cracks. Seal any water leaks with an appropriate sealant or repair cracks in the concrete with a concrete patch. Controlling moisture is important to avoid future mold development in the wall’s cavity where your drywall panels will be install. A good precaution in damp environments is to use a vapor barrier or waterproof membrane beneath the drywall. Taking this precaution aims to keep water from transferring into the concrete and causing issues with your drywall later on.
Step 2: Choose a Mounting Method
You should first select a suitable method for attaching drywall to the concrete wall of your space. You can attach drywall to concrete using three different approaches. You can attach drywall to concrete through the use of wood furring strips, metal framing or adhesive. The best method will vary based on your specific circumstances and needs.
1. Wood Furring Strips
Drywall furring strips are put up by fastening wood pieces to the concrete at intervals of either 16 or 24 inches. The drywall is bolted to the wooden furring strips. It is inexpensive, straightforward for newcomers to DIY projects, and leaves space behind the drywall to add insulation and wires. This method should only be used in moisture-free conditions as water can cause wood boards to rot or develop mold.
2. Metal Framing
Using metal studs is a better option in basement areas and for walls frequently exposed to dampness. Metal studs are resistant to warping and rot, making them suitable for neat and stable drywall attachment. On the other hand, you’ll need some specialized tools and the cost may increase.
3. Direct Bonding with Adhesive
Using a powerful construction adhesive might be the quickest and easiest way to attach drywall directly to concrete. This approach is both efficient in terms of space and quick since no frame is require. It is ideal for smaller walls without outlets or fixtures, but it’s important to note that it should not be utilized in damp areas or where you need to secure the drywall directly to the wall.
Step 3: Install the Furring Strips or Metal Studs
Now you should set up the furring strips or metal studs to serve as a base for the drywall. Make lines down the wall to indicate where each strip or stud will be place. These will typically be 16 to 24 inches apart in most cases. Set each piece of framing upright and ensure it is equally spaced throughout the entire wall.
Drill pilot holes and attach the strips with either Tapcon screws or masonry anchors. Ensure that each strip is firmly pressed against the wall and straight to prevent an off-kilter installation of the drywall. Secure a bottom and top metal track to the concrete floor and ceiling. Space and fix vertical studs at regular intervals by anchoring them to both the floor and ceiling.
Be sure to verify that your frames are straight and true before hanging the drywall. An unlevel frame will result in crooked drywall and noticeable joints that will require more effort to fix. Properly aligning and fixing your furring or studs leads to a neat and professional finish.
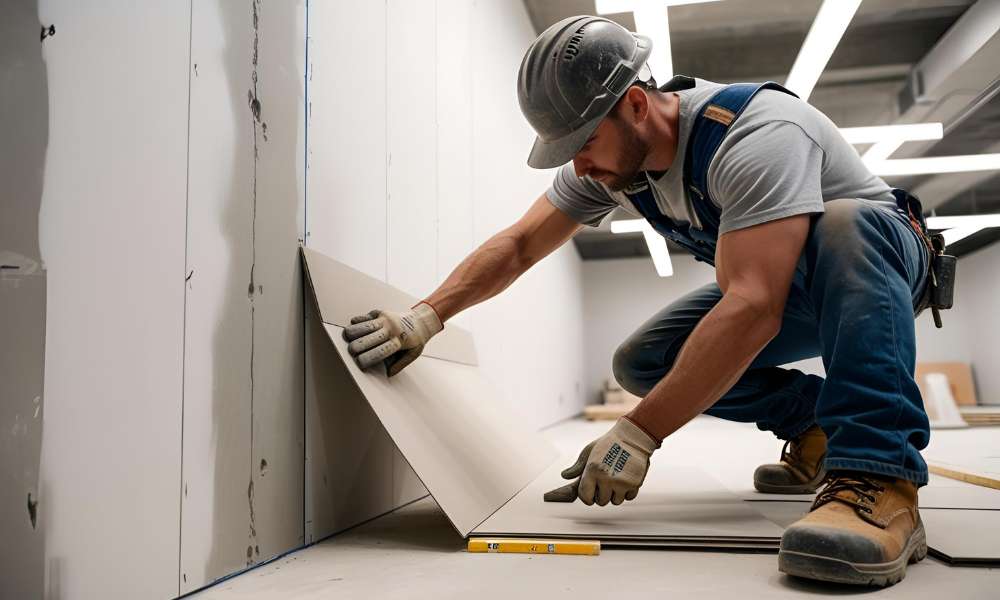
Step 4: Hang the Drywall
Once your furring or studs are firmly attach, you can put up the drywall on your concrete wall. Assess the wall dimensions and using a utility knife, cut your drywall to the appropriate size. Make a light score with a utility knife and break the sheet along the line with your hand. When cutting outlets, switches, or windows and doorways from the drywall, take accurate measurements and use either a drywall saw or rotary tool to achieve neat fits.
Begin at one corner and place each piece of drywall as you go, screwing it securely to wall framing. Make sure you drive screws every 12 to 16 inches across every piece of furring strip or metal stud. Drive the screws into the drywall just below the surface so that they’re invisible when you sand and finish the wall.
Install the drywall in rows, beginning at either the ground or ceiling level. If you can, alternate the direction of successive panels to minimize the chances of breakage. Fastening and positioning the drywall correctly will simplify the process of taping and mudding.
Step 5: Finish the Drywall
After hanging the drywall, the next step is to smooth over joints and corners for a neat appearance. Secure drywall tape around the edges of all joints and corners. Next, apply joint compound with a drywall knife and feather and level it along the drywall tape to match the adjoining panels. Let each layer of compound dry before adding the next and make each coat a little broader than the previous one to achieve a smooth finish.
When the last coat has set, thoroughly sand the surface with fine-grit sandpaper to remove rough spots. Smooth the wall with a sanding tool and use a mask during the entire sanding process. Make sure to take your time when sanding the surface. Sanding evenly and smoothly produces a perfect outcome.
After smooth and even sanding, complete your wall by priming it and then painting it with a suitable finish. Select a mold- and moisture-resistant primer for application in a basement or a damp room. Paint your walls with a premium, decorator-grade paint that compliments your room.
Read more: How to Attach Drywall to Concrete
Conclusion
Learning how to Install Drywall on Concrete Wall is a great way to upgrade unfinished spaces like basements, garages, or utility rooms. It adds insulation, hides imperfections, and creates a smooth, clean surface that’s easier to paint and decorate.
For DIYers, this is a project you can tackle with some planning, the right materials, and basic tools. Just be sure to follow safety guidelines, especially when working with power tools or lifting heavy drywall sheets.
If the job is especially large or involves moisture issues, it’s smart to contact a professional. Expert help can ensure the work is done safely and efficiently.
With the right approach, you can Install Drywall on Concrete Wall and completely transform the look and feel of your space.